What Does Toolbox Do?
The tools in MiniTool System Booster Toolbox can help users uninstall unnecessary programs, wipe disks, recover data, securely delete files and folders, end necessary processes, manage startup programs, scan and delete deceptive and potentially unwanted programs, and more.
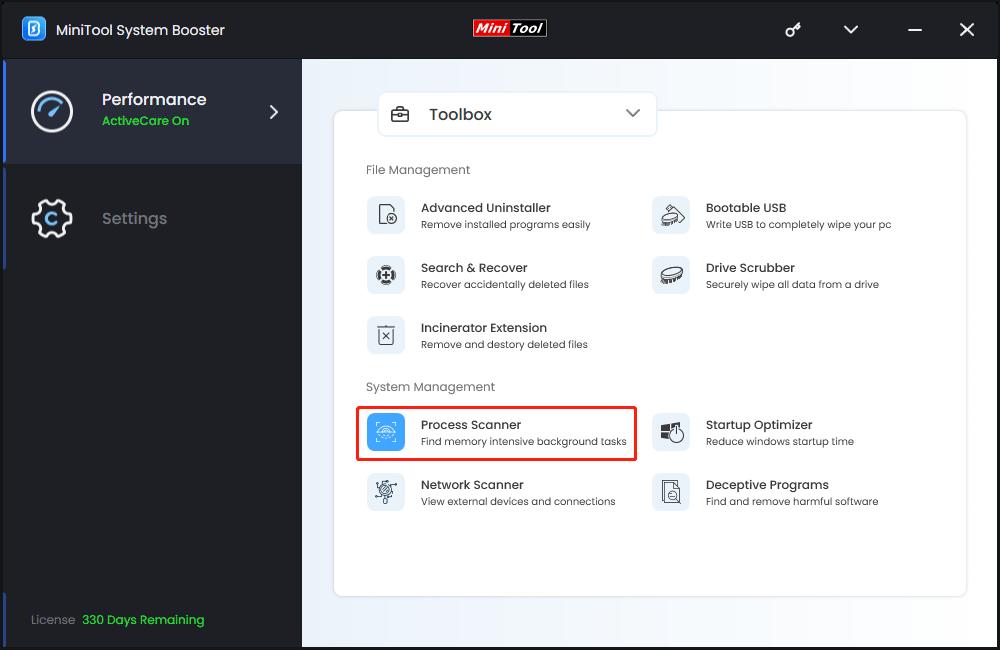
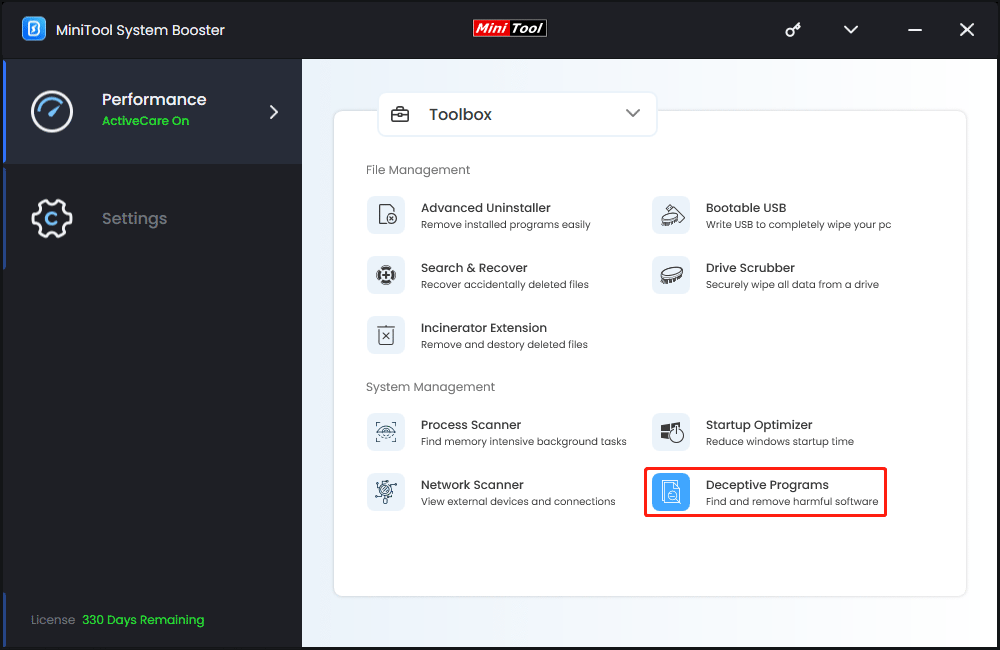
Users can click Performance from the left dashboard, then select Toolbox from the drop-down menu of Performance Home.
The Toolbox contains 2 sections:
File Management
- Advanced Uninstaller
- Bootable USB
- Search & Recover
- Drive Scrubber
- Incinerator Extension
System Management
- Process Scanner
- Startup Optimizer
- Network Scanner
- Deceptive Programs
Advanced Uninstaller
Advanced Uninstaller can thoroughly remove installed programs to increase drive capacity and eliminate sluggish performance.
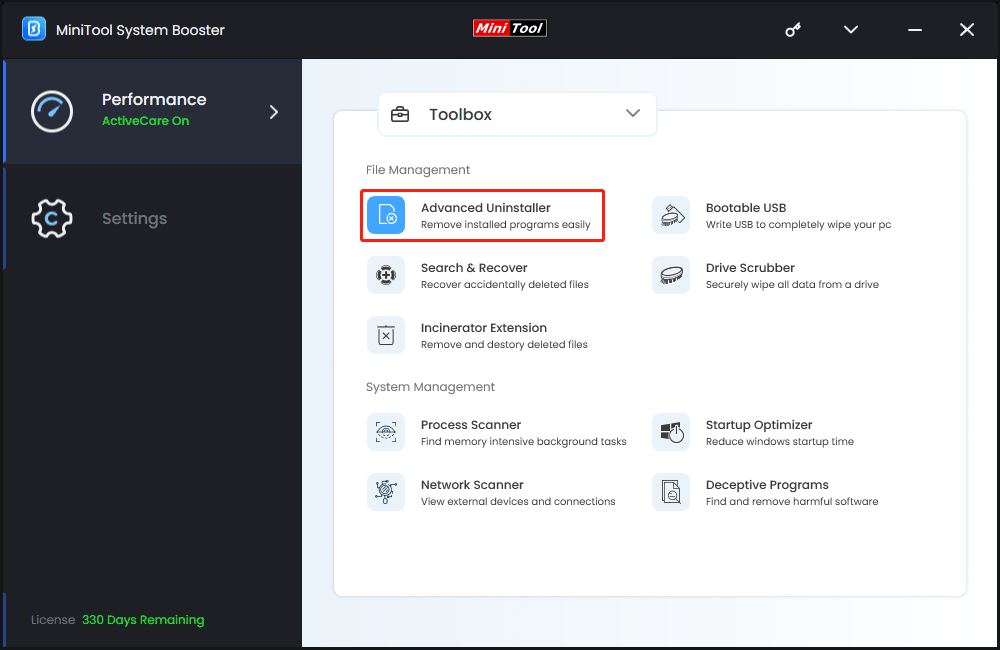
Step 1: Access Toolbox and click Advanced Uninstaller under File Management to continue.
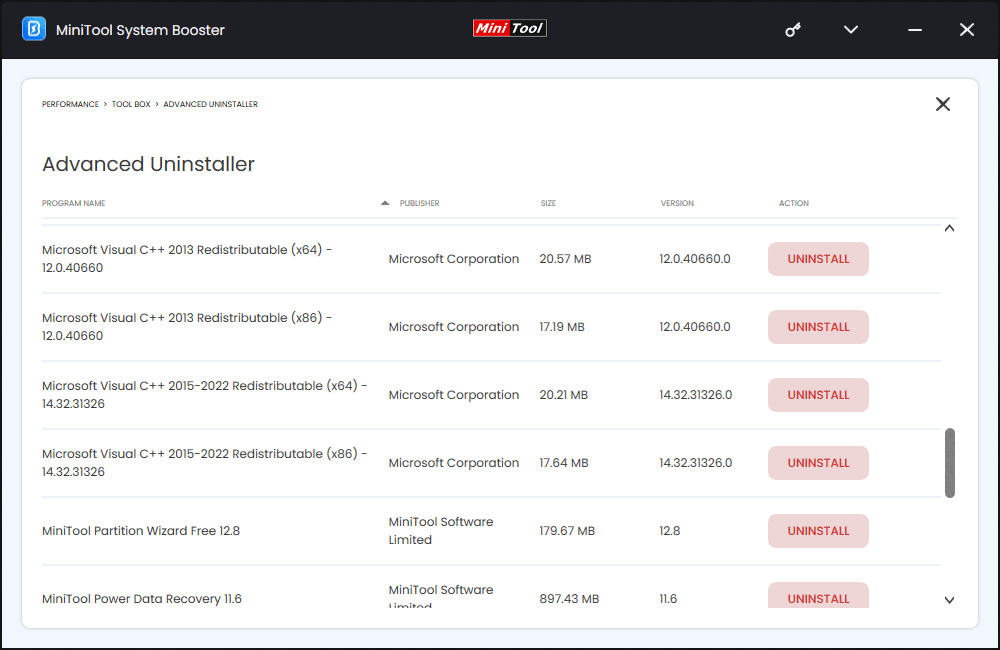
Step 2: Click the Uninstall button next to the program users want to uninstall to remove it from the computer.
Bootable USB
A bootable USB can help users completely wipe a Windows computer, especially the system disk. This feature requires users to prepare a USB drive to create a bootable USB drive.
Step 1: Connect the USB drive to the computer.
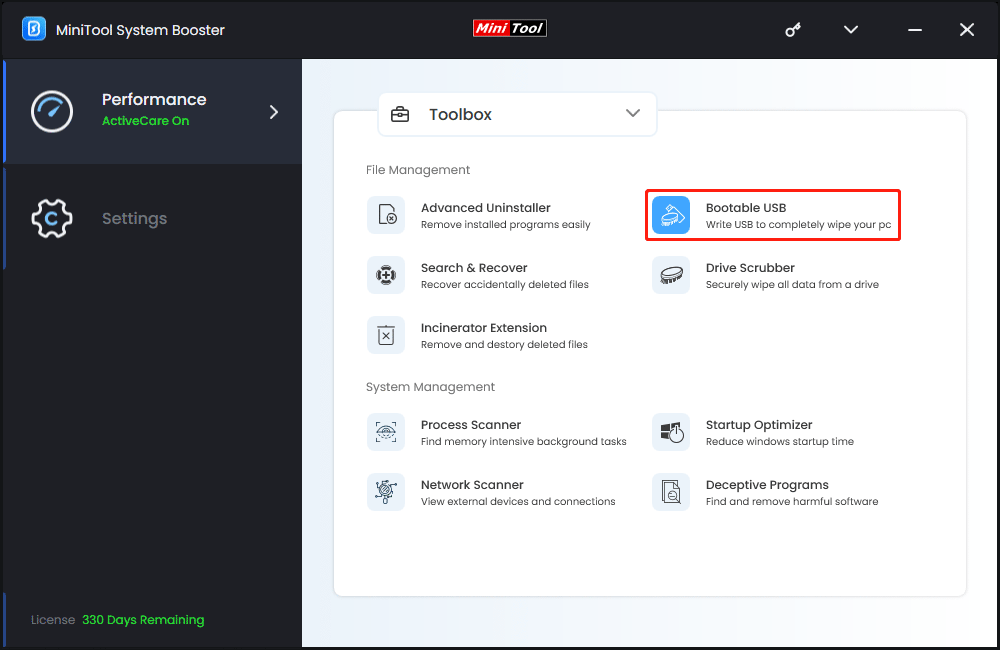
Step 2: Access Toolbox, then click Bootable USB under File Management.
Step 3: Select the target USB drive, then click the WRITE USB button to start creating a bootable USB drive.
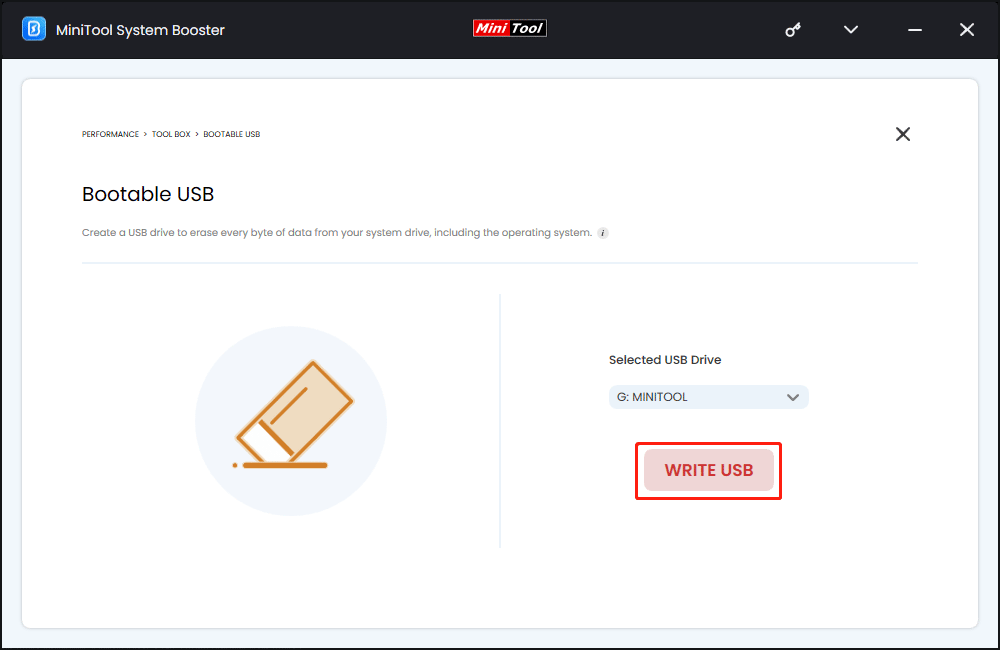
Once the process ends, users can set the computer to boot from this USB drive to wipe the entire contents of the system drive, including the system.
Search & Recover
Search & Recover allows users to recover many types of files that might have accidentally been deleted or formatted (quick format) by scanning the selected drive.
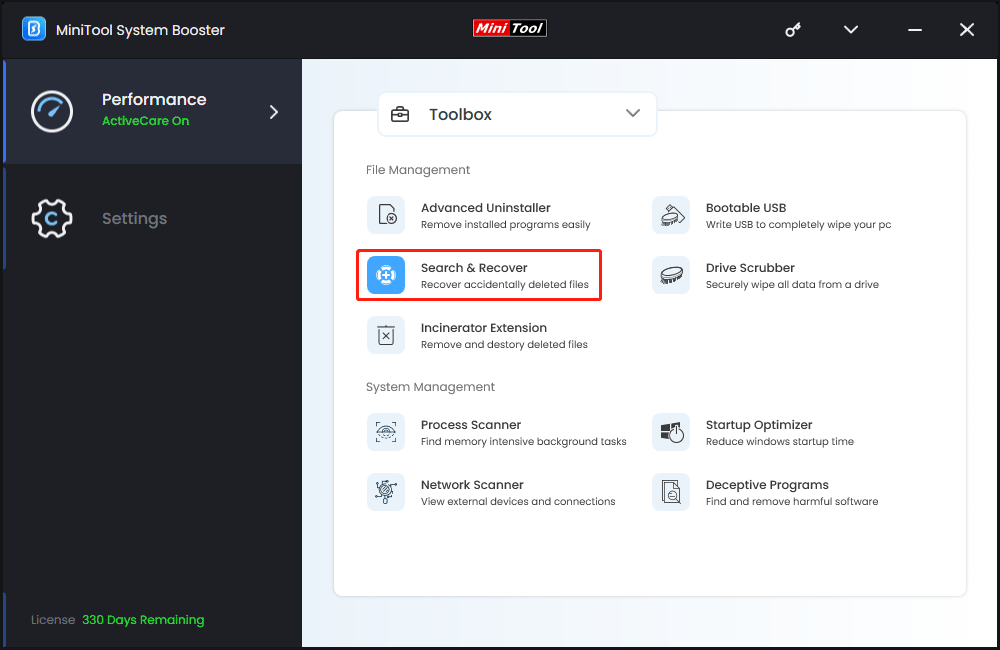
Step 1: Access Toolbox, then click Search & Recover under File Management.
Step 2: Select where to search for data and where to restore data. These two locations should be different to avoid overwriting data. In addition, users can also select Use SmartScan or Use StrongScan accordingly.
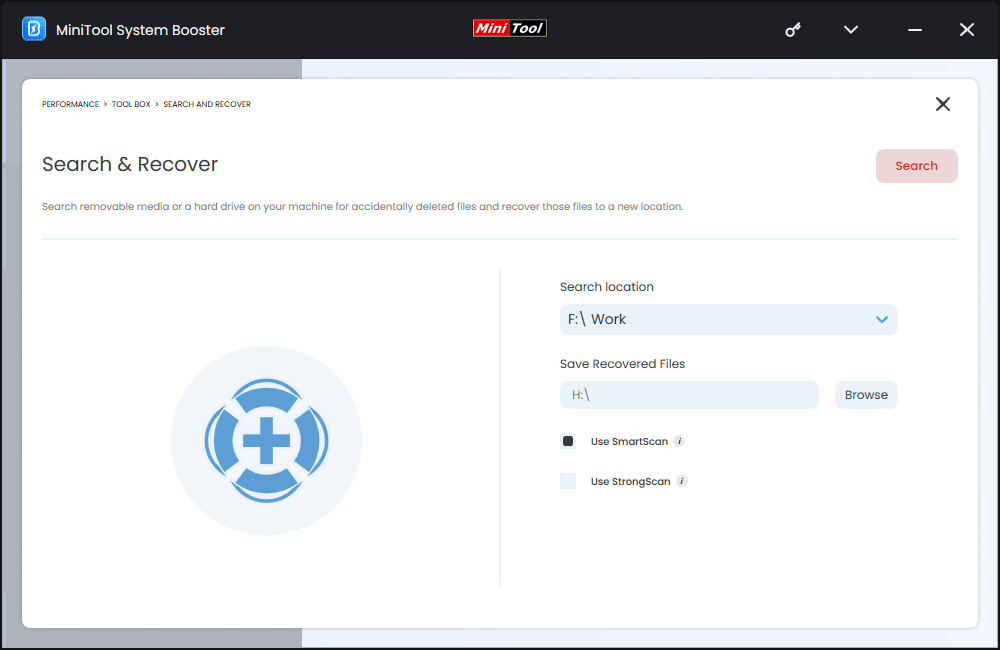
Step 3: Click the Search button to start scanning the drive.
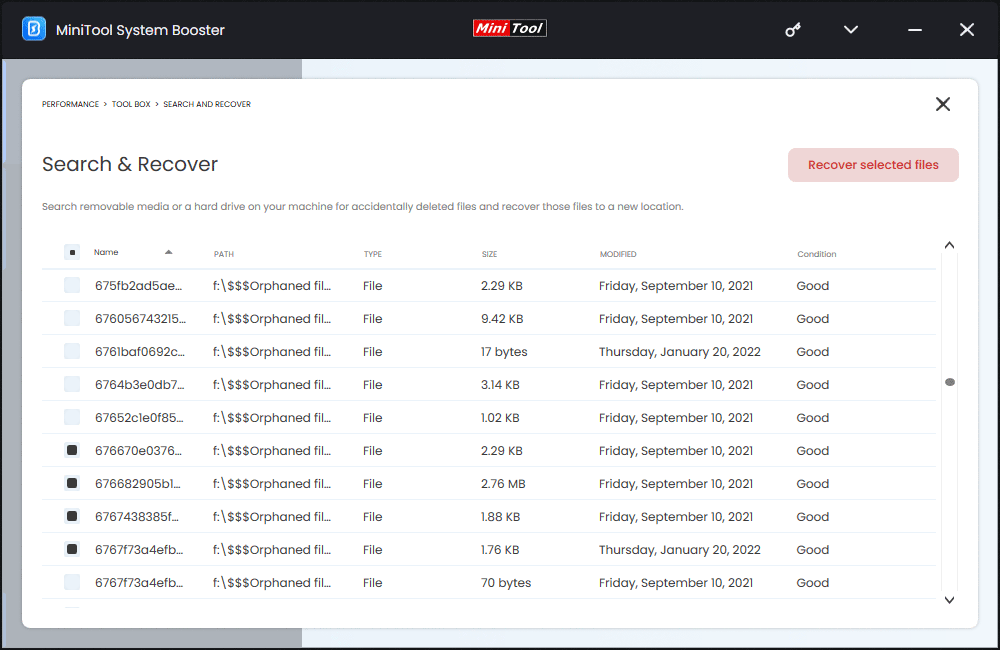
Step 4: After scanning, users can check the needed files and click the Recover selected files button to save them.
Drive Scrubber
Drive Scrubber allows users to completely wipe the contents from a drive.
Step 1: Access Toolbox, then click Drive Scrubber under File Management.
Step 2: Select the drive to be wiped, then select a wipe method.
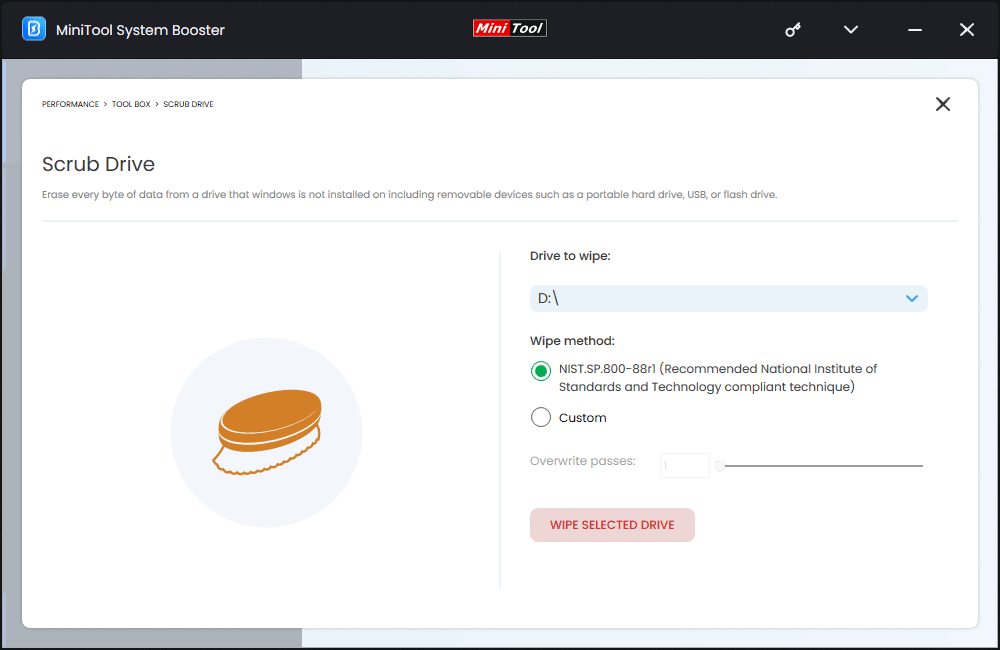
Step 3: Click the WIPE SELECTED DRIVE button to start wiping that drive.
Incinerator Extension
Incinerator Extension lets users remove all file traces and destroy deleted files and folders to ensure that they are unrecoverable.
How to Incinerate Files and Folders in Incinerator?
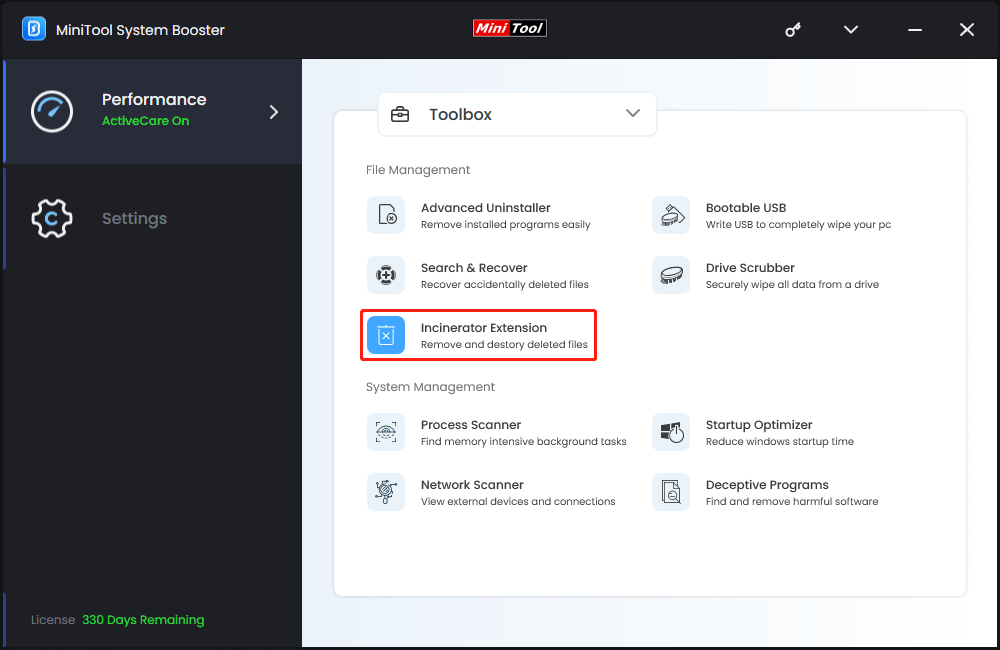
Step 1: Access Toolbox, then click Incinerator Extension under File Management.
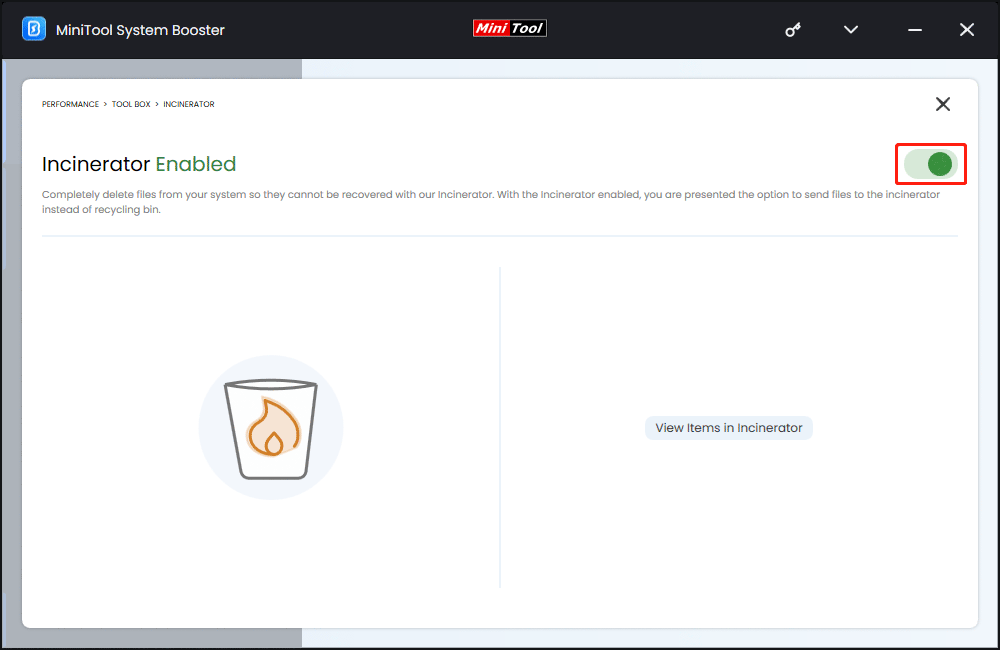
Step 2: Turn on the button next to Incinerator to enable this feature. Then, the Incinerator will appear on the desktop.
Step 3: Drag the files or folders to be erased into the Incinerator.
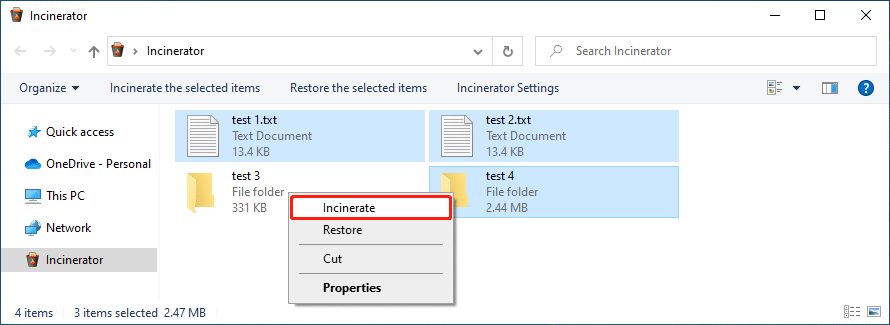
Step 4: Open Incinerator, then select the target files or folders, right-click them and choose Incinerate from the context menu. The selected items will be completely erased and become unrecoverable.
How to Restore Files and Folders from Incinerator?
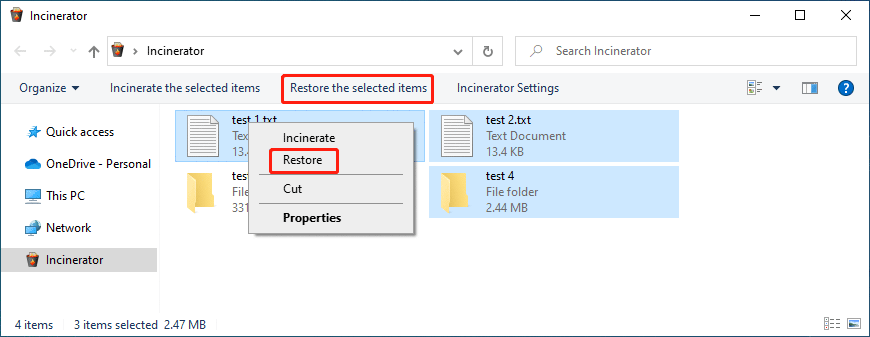
Files and folders that remain in the Incinerator are still recoverable. Users can select the needed items and click Restore the selected items from the top menu to restore these items to the original location. Users can also right-click the selected items and then select Restore from the context menu to restore them.
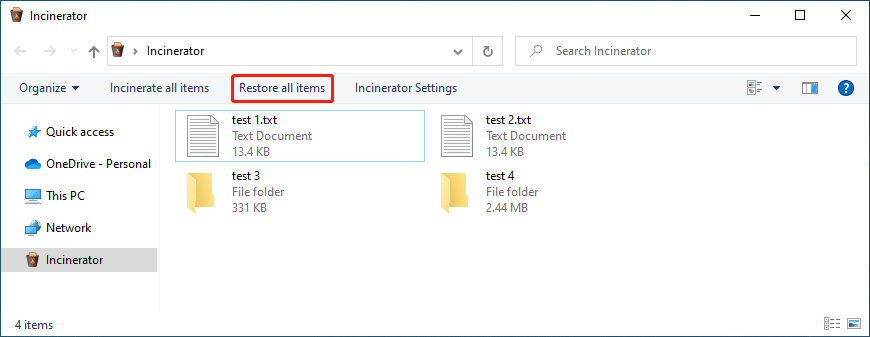
Users can click Restore all items from the top menu to restore all files and folders to their original location.
Process Scanner
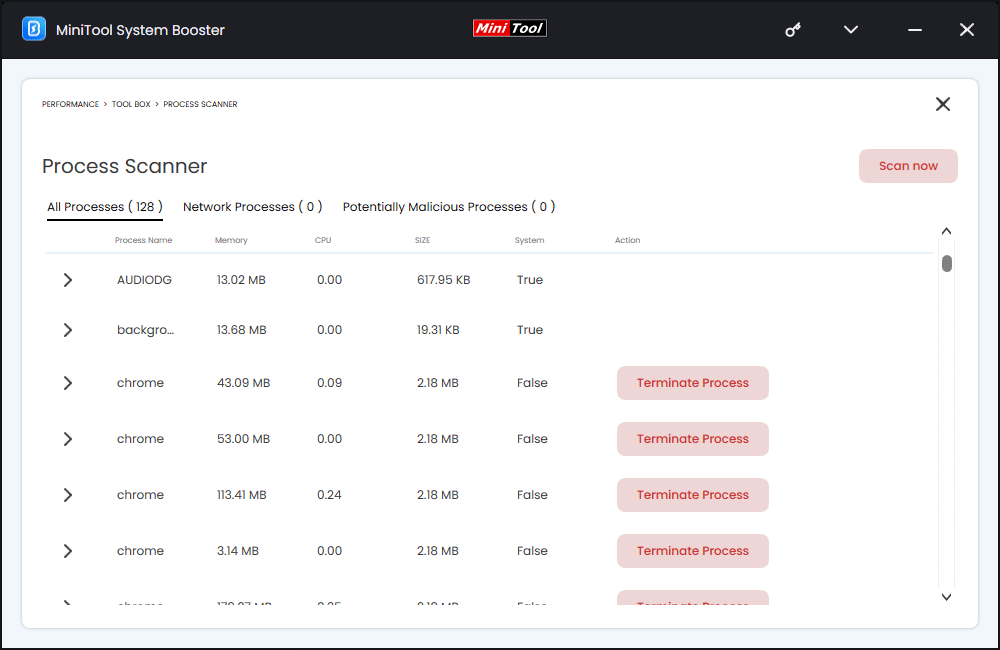
Process Scanner checks for processes that may be running and are using up unnecessary system resources, potentially causing a slowdown in computer performance.
Step 1: Access Toolbox, then select Process Scanner under System Management.
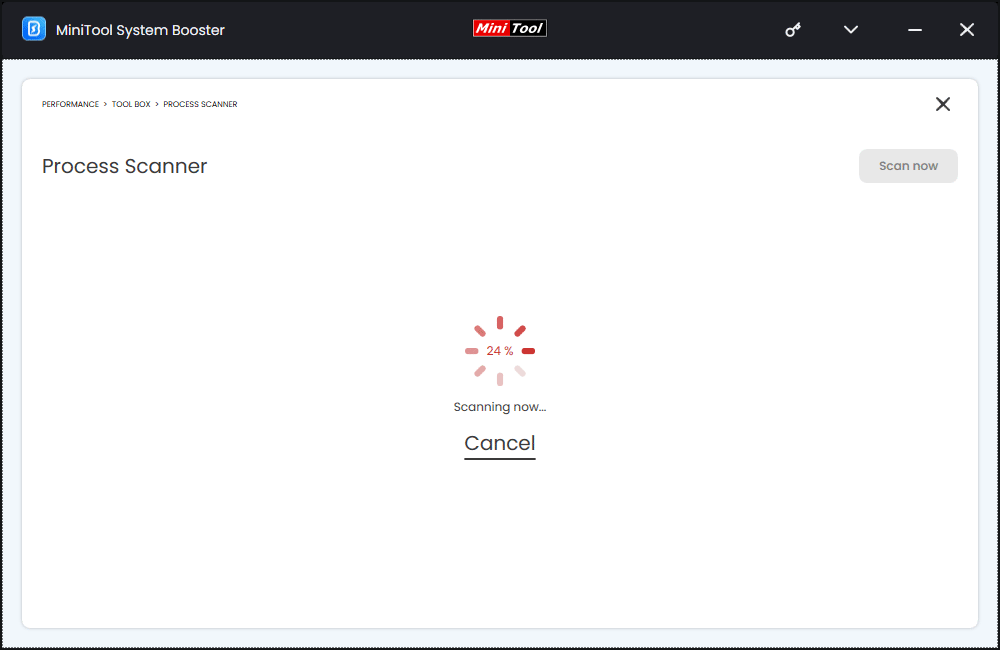
Step 2: Click the Scan now button to start scanning the system.
Step 3: Click the Terminate Process button to end the unnecessary or potentially malicious processes.
Startup Optimizer
Startup Optimizer can easily enable or disable programs from running automatically at startup for improved Windows speed and performance.
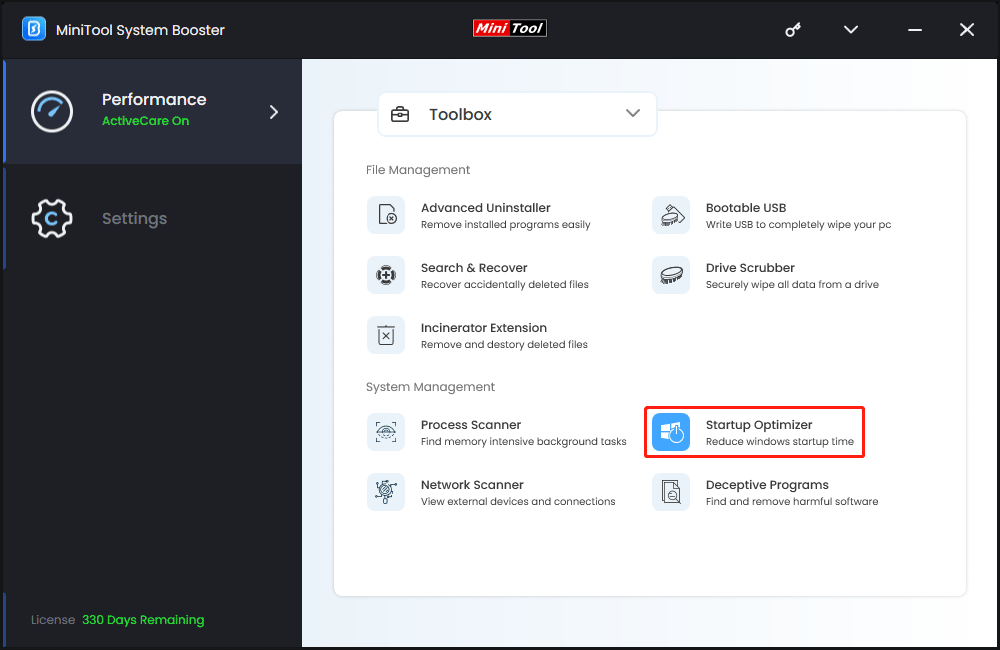
Step 1: Access Toolbox, then click Startup Optimizer under System Management. This tool will begin to check startup programs and services.
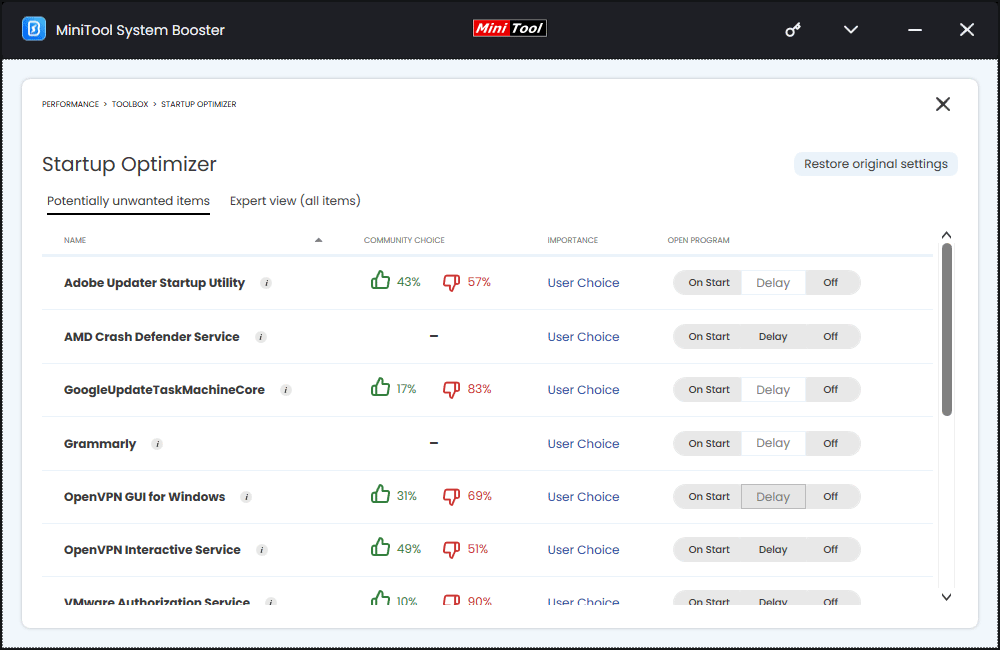
Step 2: Users can enable, delay, or disable the startup programs based on their own requirements. However, users cannot delay services because they are important for the system and programs running.
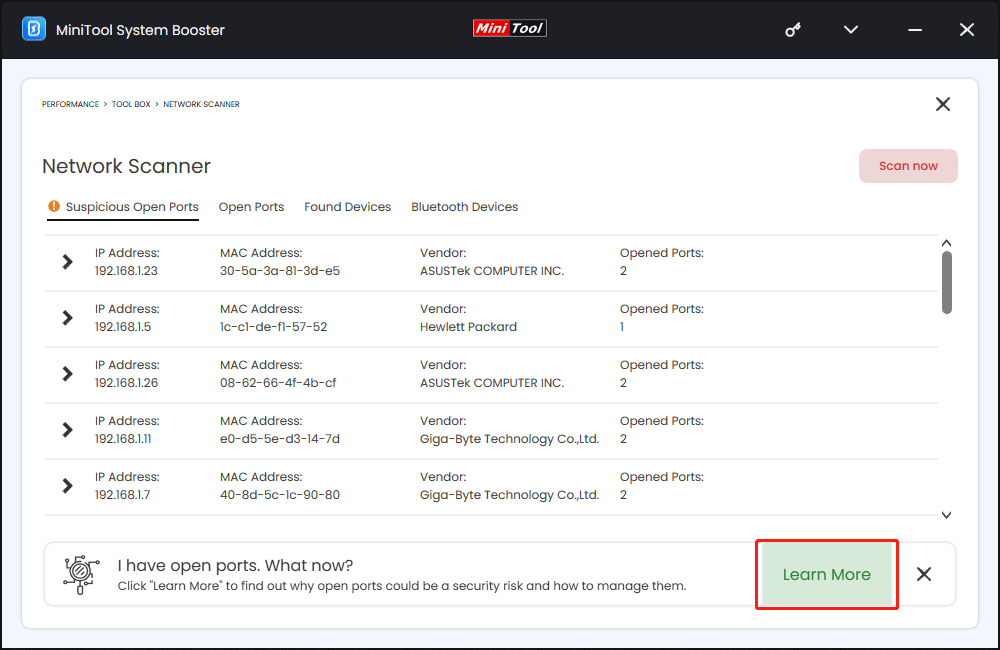
Network Scanner
Network Scanner scans for devices on the network that may be using excessive bandwidth or causing security vulnerabilities.
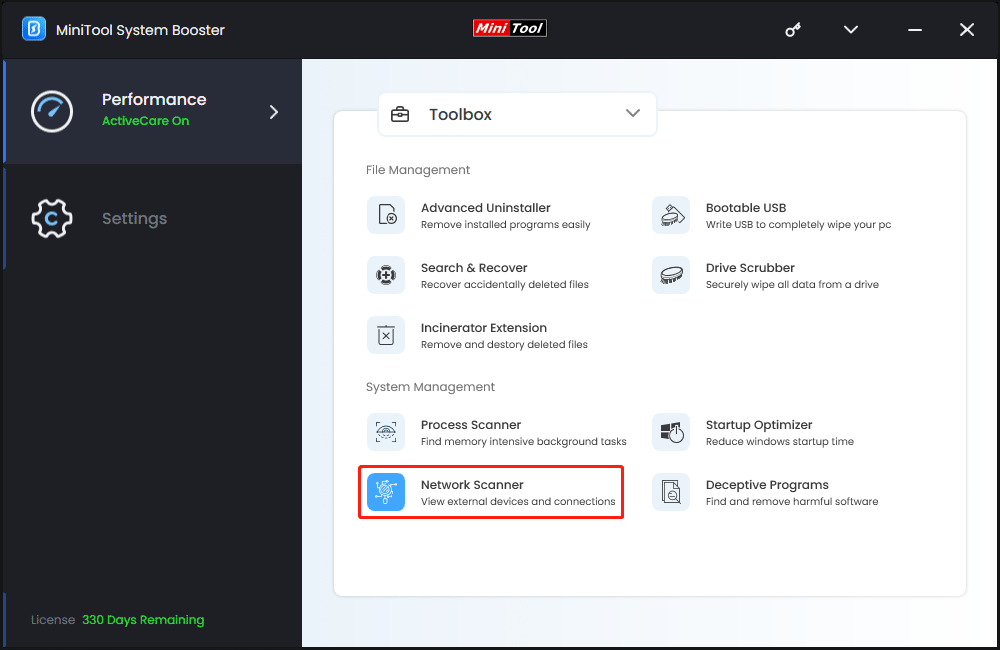
Step 1: Access Toolbox, then click Network Scanner under System Management.
Step 2: Click the Scan now button to start checking the network.
Step 3: After scanning, users can browse and remove any obsolete or inactive devices from their network.
Deceptive Programs
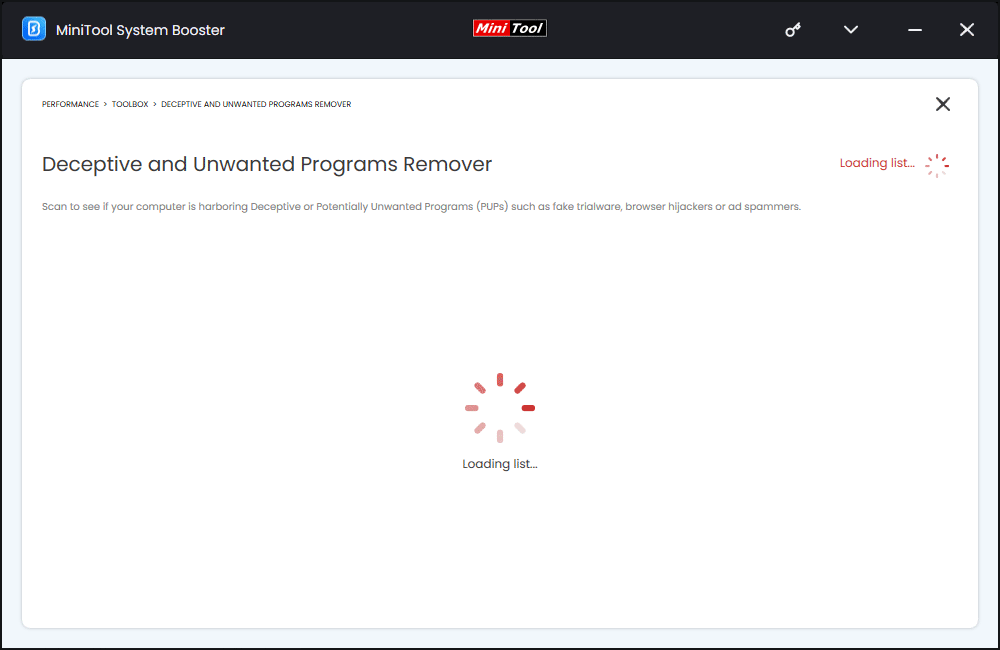
This tool can identify and remove deceptive and potentially unwanted programs (PUPs) or software that is a nuisance and often a major resource drain on a PC.
Step 1: Access Toolbox, then click Deceptive Programs under System Management.
Step 2: This tool will begin to scan the computer for deceptive or potentially unwanted programs, and then list them. Users can remove harmful software if any is found.
