Are you planning to remove the Blizzard Entertainment platform and its games? Or, you plan to but can't uninstall Battle.net due to unknown reasons? This post from MiniTool introduces how to uninstall Battle.net in 3 ways.
Blizzard Battle.net is an Internet-based online game platform developed by Blizzard Entertainment. It was released on December 31, 1996. This game service supports storefront actions, social interactions, and matchmaking for all the current games provided by Blizzard, including Overwatch, World of Warcraft, Heroes of the Storm, Hearthstone, Diablo, etc.
However, users want to uninstall the Battle.net desktop app since the client may run slower over time and influence the PC’s performance. This post is about how to uninstall Battle.net.
What to Do Before Uninstalling Battle.net
Before uninstalling Battle.net, it’s crucial to uninstall all Blizzard games. Here’s how to do it for one of your games:
1. Open the Battle.net desktop app. Go to GAMES > Installed.
2. Click the game. Find the Options button next to Play and right-click it to choose Uninstall.
3. Then, go to the game’s directory folder and delete remnants.
4. Repeat this process for each Blizzard game you have installed.
Finally, you need to exit and close any programs related to Battle.net or Blizzard games that might be running in the background. The following are the steps:
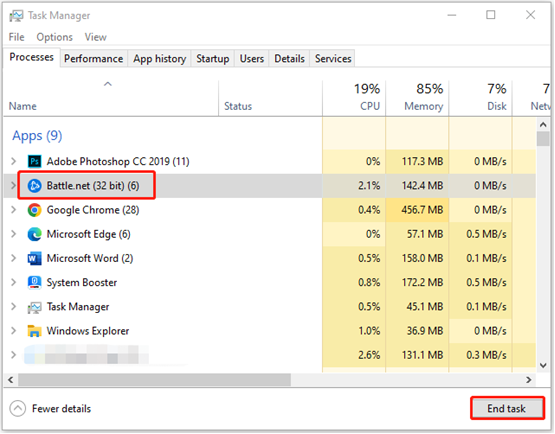
1. Type Task Manager in the Search bar.
2. Go to the Processes tab and find Battle.net. Click the End Task button.
How to Uninstall Battle.net on PC
Way 1: Via MiniTool System Booster
How to uninstall the Battle.net desktop app? As a professional uninstaller, MiniTool System Booster is a good choice. This tool is known as an all-in-one tune-up PC software that uninstalls apps, disables startup items, recovers accidentally deleted files, etc.
Besides, it has cleanup tools like NetBooster, Internet Cleanup, Windows Cleanup, Registry Cleanup, Security Optimizer, Program Accelerator, and Memory Mechanic to find and clean up unnecessary clutters that slow down your Windows PCs.
Download and install MiniTool System Booster on your PC. You can use the Trial edition for 15 days.
MiniTool System Booster TrialClick to Download100%Clean & Safe
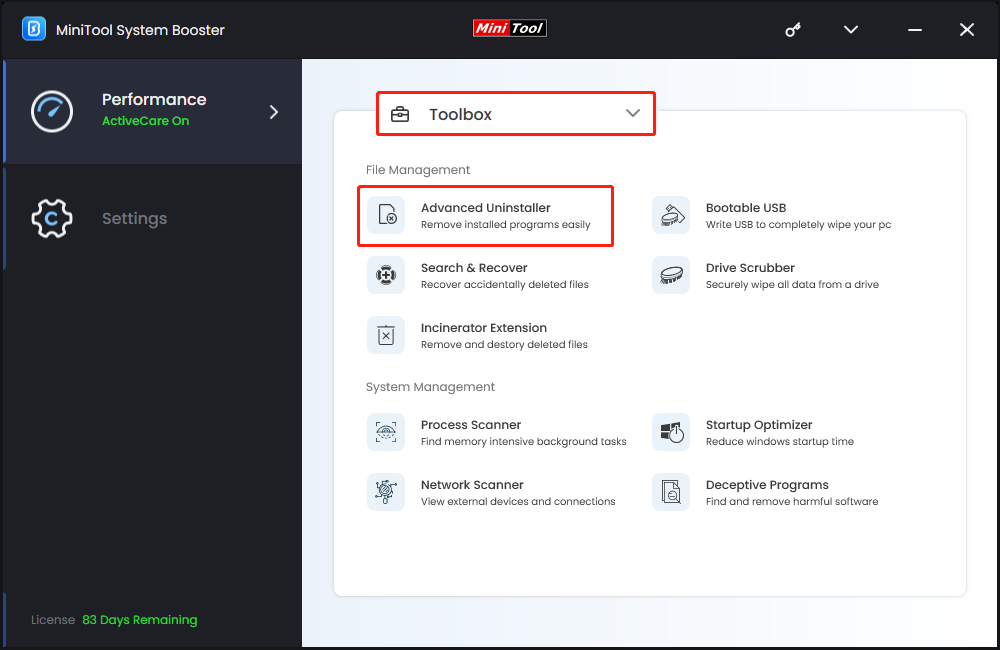
1. Launch it to enter its main interface and click the drop-down menu to choose Toolbox.
2. Under the File Management part, choose Advanced Uninstaller.
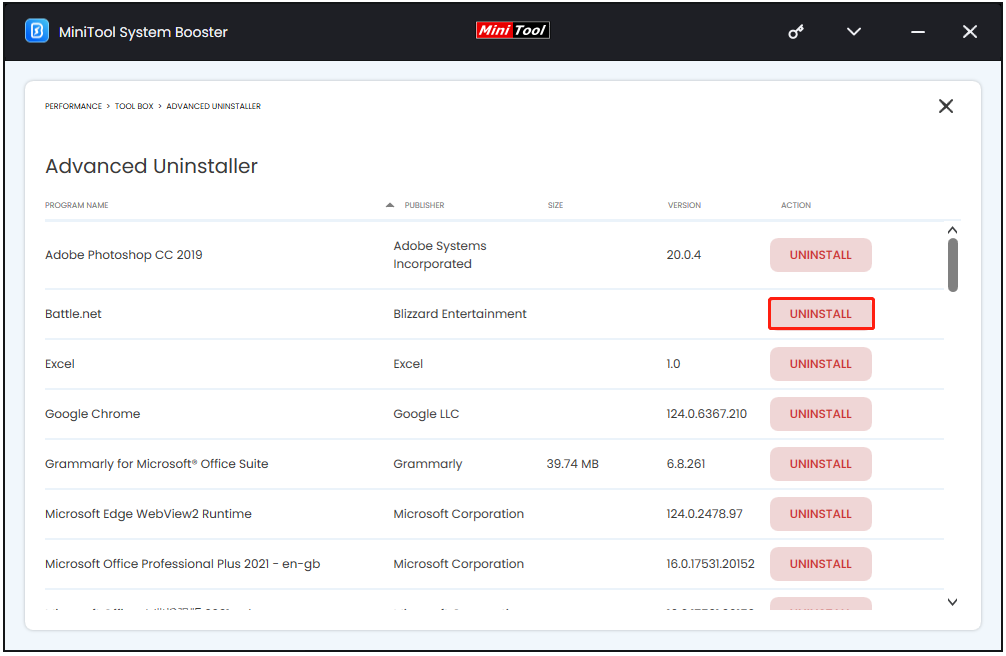
3. Then, you can see the installed programs have been listed. Find Battle.net and click the UNINSTALL button.
Way 2: Via Settings
How to uninstall Battle.net on Windows? The second way for you is via Settings.
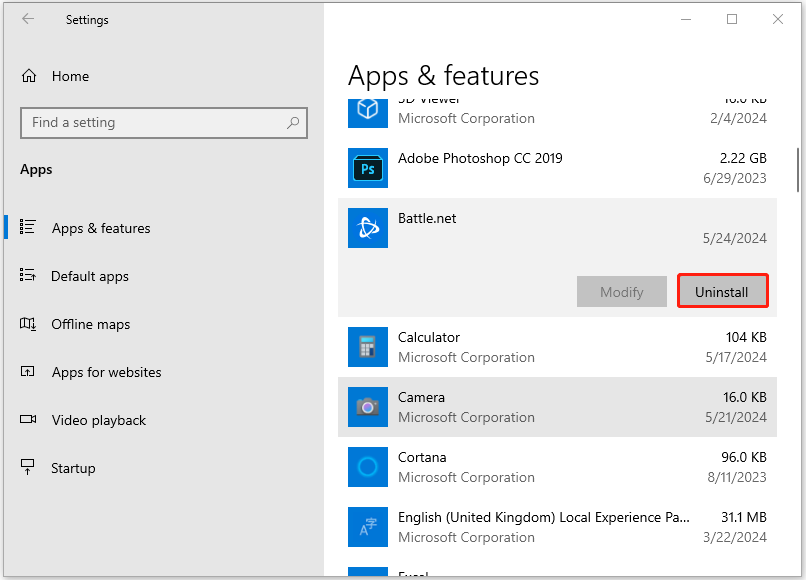
1. Press the Windows + I keys together to open Settings.
2. Go to App > Apps & features. Here, find Battle.net and choose the Uninstall button.
Way 3: Via Control Panel
In Windows, one common way to uninstall an app is by using Control Panel. Here, let’s see how to uninstall Battle.net via Control Panel.
1. Open Control Panel via the Search box.
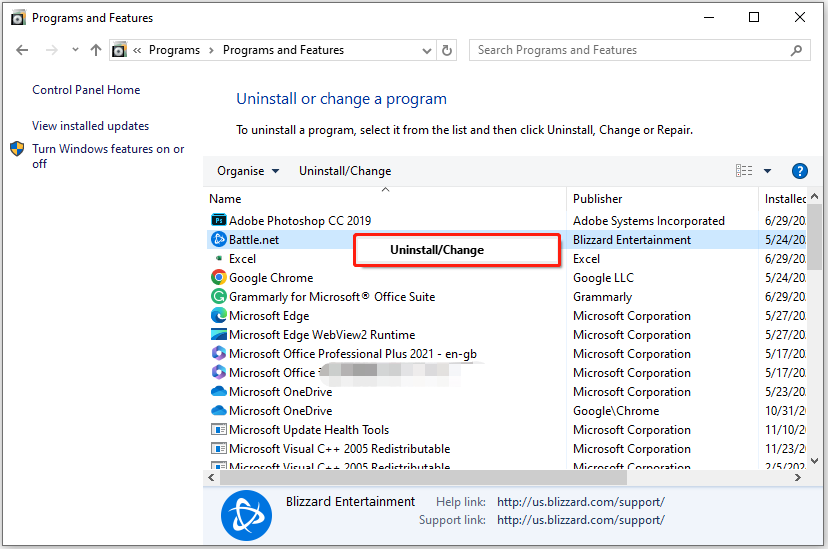
2. View all the items by Category and click Uninstall a program under Programs.
3. Then, find and right-click Battle.net and select Uninstall/Change.
What to Do After Uninstalling Battle.net
After uninstalling Battle.net from the PC, it’s recommended to make sure that there are no Battle.net or Blizzard games’ remnants on your system. However, please proceed with caution since deleting the wrong files can affect other programs. It’s crucial to only delete files and folders that are related to Battle.net. Here are the steps:
1. Press the Windows + R keys together to open the Run dialogue box.
2. Type %programfiles(x86)% in the box and press Enter.
3. Delete files related to Battle.net, Blizzard, and its games like Overwatch.
4. Then, do the same operation for %programdata%, %appdata%, %localappdata%, and %temp%.
5. Finally, type Battle.net and Blizzard in the search box to check if there are still leftover files and folders remaining.
Related post: How to Recover Steam Save Files? Here Are Ways for You!
How to Uninstall Battle.net on Mac
If you are a Mac user, you can also find the steps here. The following are the steps:
1. Quit the Battle.net application if it’s running.
2. Open Finder and find the Battle.net app in Applications.
3. While holding down the Option (Alt) key, select Library from the Go menu on the system menu bar.
4. Delete the Battle.net folder in ~/Library/Application Support/Blizzard.
5. Then, navigate to ~/Library/Preferences and delete the following files:
- com.blizzard.errorreporter.plist
- com.blizzard.Installer.plist
- com.blizzard.launcher.plist
- net.battle.net.app.plist
- net.battle.Authenticator.prefs
- net.battle.Identity.prefs
- net.battnet.battle.plist
6. At last, empty the Trash. If you try to uninstall manually and it still doesn’t clear after dragging files to the Trash, try restarting your Mac and emptying the Trash again. This should complete the uninstall. You can also use Spotlight to search for Blizzard and Battle.net and then delete any files it finds.
Final Words
How to completely uninstall Battle.net? First, you need to uninstall each game individually through the Battle.net desktop app and close the Battle.net client completely. Then, choose the proper tool like MiniTool System Booster to uninstall the Battle.net desktop app. At last, remove the Battle.net files from your PC.