McAfee is an excellent antivirus program that can totally protect your computer. When you purchase a new PC from a manufacturer other than Microsoft, the PC may come with McAfee. After a 30-day free trial, a pop-up appears to prompt you to subscribe to this software. If you don’t want to renew it, it is a good idea to remove McAfee from Windows 11/10.
It is not suggested to use the Windows PC without any antivirus software. But, it is worth noting that Windows 11 and 10 have a built-in antivirus program – Windows Security. If McAfee causes you trouble, you can delete it safely and use Windows Security to protect your PC against viruses and malicious programs.
Related post: Windows Defender vs McAfee: Which One Is Better for Your PC
Next, let’s focus on how to get rid of McAfee.
How to Uninstall McAfee Windows 11/10
Uninstalling this antivirus software is never a cumbersome process. You can try more than one way to perform this action and this removal guide will walk you through efficient methods.
Run MiniTool System Booster
As a comprehensive PC tune-up software, MiniTool System Booster stands out from many similar software. You can run it to deeply clean up your PC, defragment a hard drive, clear up RAM, increase CPU performance, disable intensive background & startup processes, wipe a hard drive, uninstall an app, remove harmful software, and more.
To remove McAfee from Windows 11/10, you can free download and install MiniTool System Booster to have a try. Then, follow the guidelines below for the uninstallation.
MiniTool System Booster TrialClick to Download100%Clean & Safe
See the guide on how to uninstall McAfee Windows 11/10:
Step 1: Double-click on the icon of this app uninstaller and run it.
Step 2: On the Performance page, click Toolbox from the drop-down menu after tapping on Performance Home.
Step 3: Choose Advanced Uninstaller under File Management.
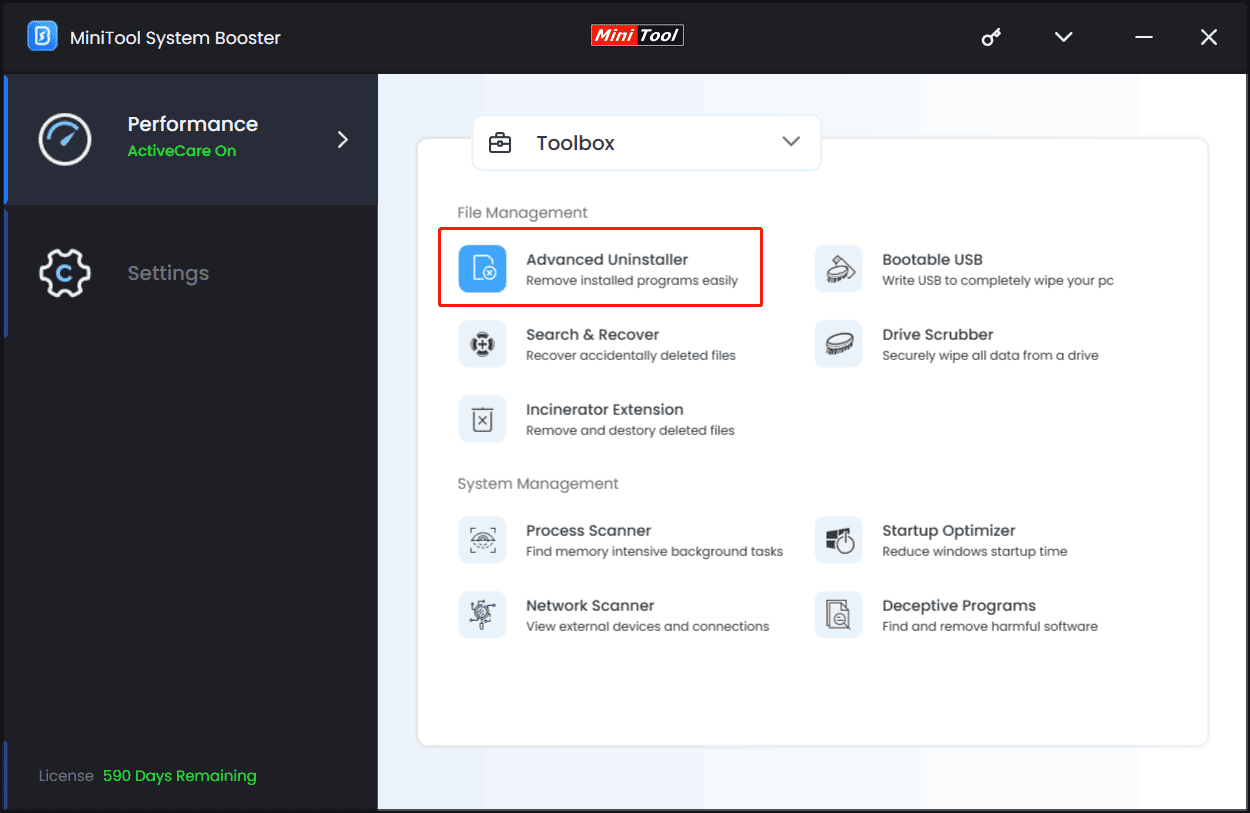
Step 4: Find McAfee from the list of programs list and click on the UNINSTALL button next to this antivirus tool.

Remove McAfee from Windows 11/10 Settings
Like other programs, it is available to uninstall McAfee via the Settings console. Follow these steps:
Step 1: On your keyboard, press Win + I at the same time to open Settings.
Step 2: Navigate to Apps > App & features.
Step 3: Locate McAfee and click on Uninstall. For Windows 11, you need to click the three dots next to McAfee and choose Uninstall.

Step 4: In the popup, tick the checkboxes under Select what you want to remove and click Remove. Finish the rest processes by following the instructions on the screen.
Access Control Panel
Uninstalling programs in Control Panel is also a good option. Try to remove McAfee from Windows 11/10 in this way:
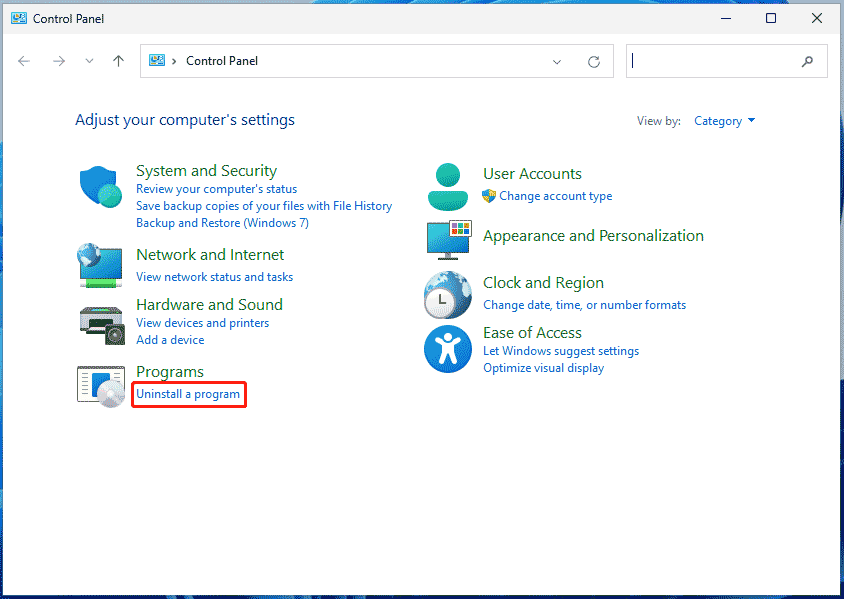
Step 1: Type Control Panel into the Search Bar to open this tool.
Step 2: Choose Category to view Control Panel items and then click Uninstall a program.
Step 3: Right-click on McAfee and choose Uninstall/Change.
Step 4: Follow the on-screen instructions to complete the uninstallation.
Use McAfee Consumer Product Removal Tool (MCPR)
If McAfee won’t uninstall via Settings or Control Panel, you can run the official McAfee removal tool called McAfee Consumer Product Removal, also known as MCPR.
A guide on how to uninstall McAfee Windows 11/10 with MCPR:
Step 1: Download MCPR from the official link.
Step 2: Double-click on the MCPR.exe file and wait for it to finish extracting the files.
Step 3: Click Next, check Agree under End User License Agreement, and tap on Next.
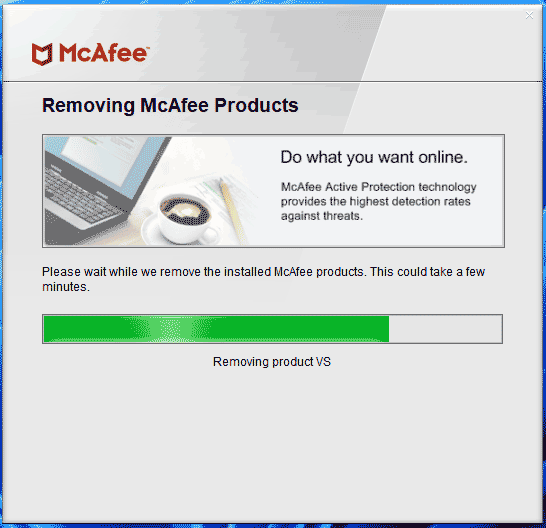
Step 4: Input a security validation code and then wait for the McAfee removal tool to complete removing McAfee products.
Step 5: Once done, click Restart.
Remove McAfee from Windows 11/10 in Windows PowerShell
Besides these common ways to get rid of McAfee, you can execute a command for the uninstallation task. See how to delete McAfee using PowerShell in Windows 11:
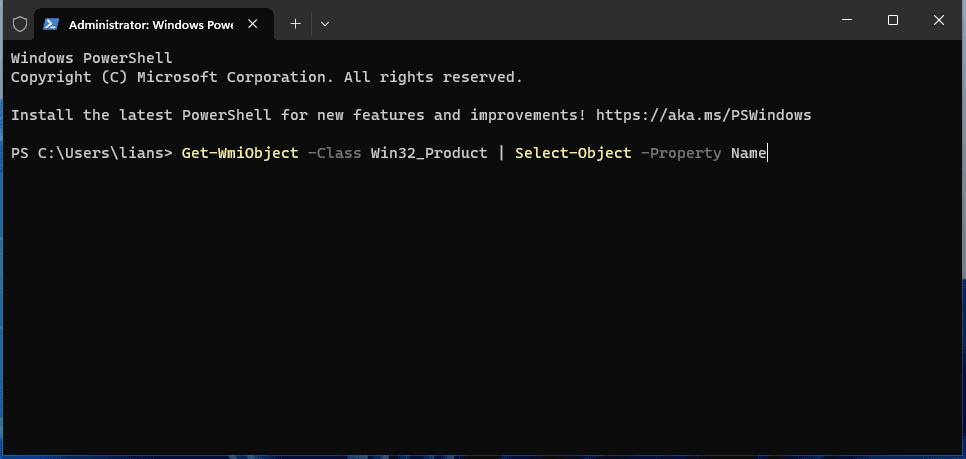
Step 1: Right-click on the Start icon and choose Terminal (Admin). For Windows 10, choose Windows PowerShell (Admin).
Step 2: Run this command – Get-WmiObject -Class Win32_Product | Select-Object -Property Name.
Step 3: Note down the name of McAfee and then execute this command – $app = Get-WmiObject -Class Win32_Product `-Filter “Name=”app_name””. Remember to replace app_name with the McAfee product’s name.
How to Check & Clean Any Residual Files & Settings
These are the most used ways to uninstall McAfee from your Windows 11/10 PC. Like many third-party apps, McAfee can also leave some processes and files on your PC after uninstalling. You should manually check and delete any residual files.
Check Files in File Explorer
Step 1: Press Win + E to open File Explorer.
Step 2: Check these folders to see if they contain files/folders regarding McAfee and then delete them:
- C:\Program Files (x86)
- C:\Program Files (x86)\Common Files
- C:\Program Files
- C:\Program Files\Common Files
- C:\ProgramData
- C:\Users\USERNAME
- C:\Users\user_name\AppData\Roaming
- C:\Users\user_name\AppData\Local
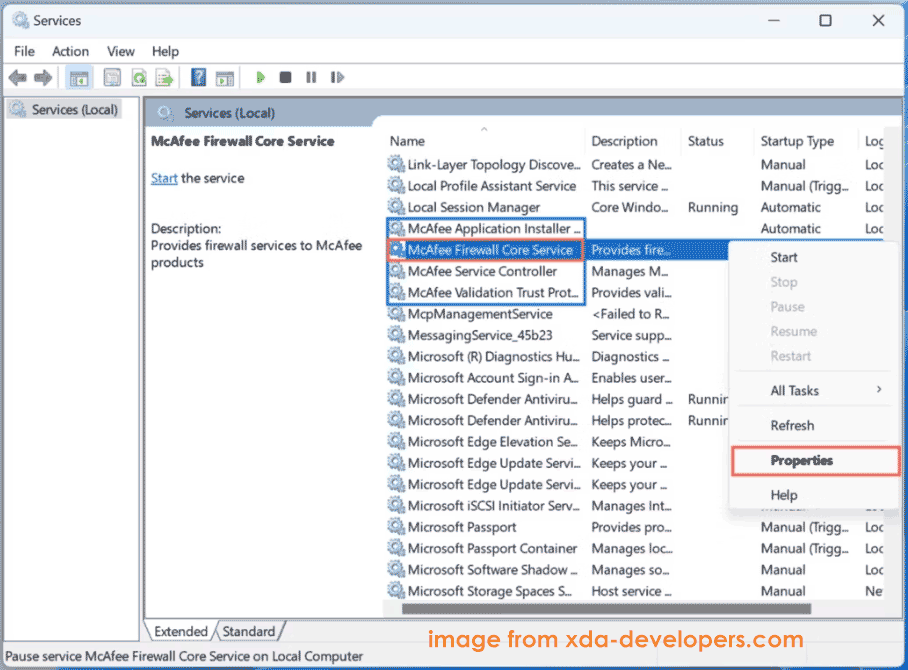
Check Windows Services
After you remove McAfee from Windows 11/10 File Explorer, you also need to check Windows Services and disable any services in regard to McAfee.
Step 1: Type services.msc to the search box and press Enter.
Step 2: Scroll down to spot services related to McAfee. Right-click on each one and select Properties.
Step 3: Click Stop and choose Disabled from Startup type.
Step 4: Run Command Prompt with admin privileges and then execute this command – sc delete service name. Replace the service name with the McAfee services.
Clean Registry
What’s more, you also need to clean some registry items related to McAfee. See how to delete McAfee in Windows Registry:
Step 1: Type regedit to Windows Search and run Registry Editor.
Step 2: Press Ctrl + F to search for McAfee. Then, delete all the found keys.
Related post: How to Remove Remnants of Uninstalled Software? Try These Ways!
Wrap Things up
That’s information on how to remove McAfee from Windows 11/10 completely. Try to uninstall the McAfee app from your PC and then delete its related files, services, and registry keys. By following the full guide, you can easily and completely delete McAfee. After that, run Windows Security which offers real-time PC protection.
About The Author

Position: Columnist
Vera has been working at the MiniTool Team for over 10 years as a technical editor and content writer. She mainly focuses on disk and partition management, data recovery, Windows backup and restore, and PC troubleshooting. Through in-depth software testing and hands-on experience, she has helped users solve a wide range of computer problems and better protect their data on Windows devices.