How to fix the “Skype won’t close” issue? How to stop Skype from starting automatically on Windows 10? This post from MiniTool will show you how to fix the issue. Now, keep on your reading.
Skype is a telecommunications application that specializes in providing video chat, voice calls, and instant messaging services, which attracts a great number of users around the world. However, when using it, some users report that Skype won’t close and starts automatically when starting computers. Now, let’s see how to fix it.
Related post: How to Fix: Skype Won’t Open on Windows 10 [3 Solutions]
How to Fix Skype Won’t Close
How to close Skype? Here are 5 ways for you.
Way 1: Via MiniTool System Booster
First, you can try the PC tune-up utility – MiniTool System Booster to close Skype. In addition to force-killing unwanted processes, this tool can also help you uninstall unnecessary programs, wipe a computer, recover deleted files, erase files and folders, scan network connections, and remove harmful software.
Now, let’s see how to close Skype with MiniTool System Booster.
1. After downloading and installing MiniTool System Booster, double-click it to run it.
MiniTool System Booster TrialClick to Download100%Clean & Safe
2. Under the Performance page, click Toolbox.
3. Then, select Process Scanner under System Management.
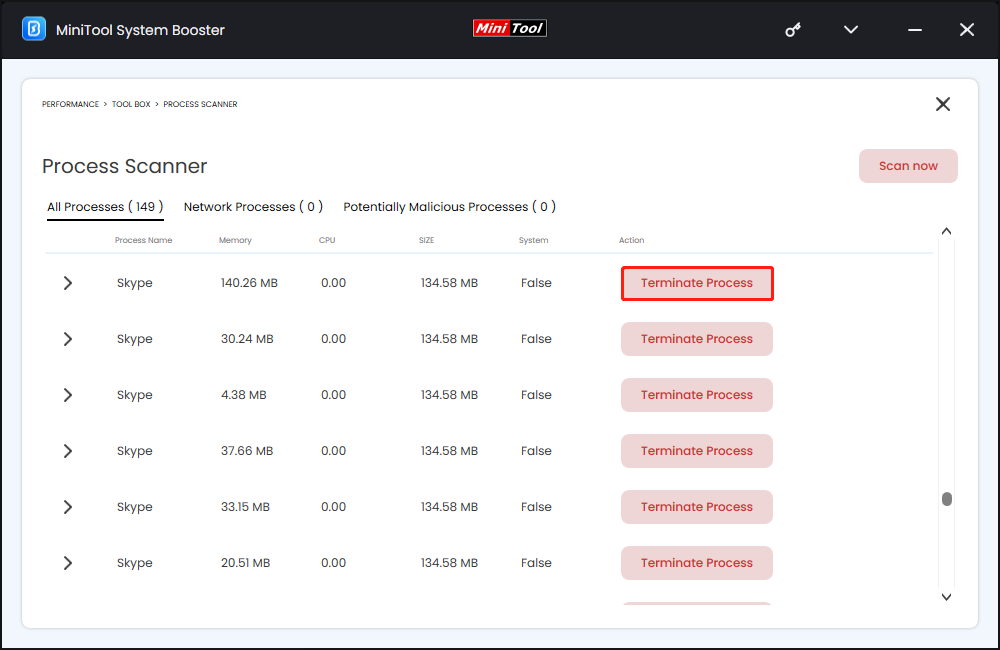
4. Click the Scan now button to start scanning the system.
5. Find Skype and click the Terminate Process button.
Way 2: Via the System Tray
If you still encounter the “Skype process won’t end” issue, you can choose to close it from the system tray.
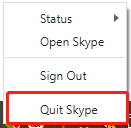
1. Go to the system tray which is at the bottom-right edge of your screen.
2. Then, find Skype. Right-click it and choose Quit Skype to continue.
Way 3: Via Task Manager
To fix the “Skype won’t close” issue, you can choose to close Skype using Task Manager. Now, here is the tutorial.
1. Open Task Manager by pressing the Ctrl + Shift + Esc keys together.
2. Now, switch to the Processes tab.
3. Scroll down to select Skype. Right-click it to choose the End task button. After that, Skype will be closed in Task Manager.
Related posts:
- Is End Task Not Working on Windows 11/10? Fix It Now!
- Top 6 Fixes for Task Manager Not Responding/Working/Opening
Wat 4: Create the. bat File
If you come across the issue that Skype won’t close, you can choose to force close Skype by creating a batch file. Here are the detailed steps:
1. Right-click your desktop. Choose New from the context menu to select Text Document.
2. Open the newly created text document and type the following content into it.
@ECHO OFF
ECHO Congratulations! Your first batch file executed successfully.
PAUSE
3. Then add the following content in it.
taskkill /f /im skypeapp.exe
taskkill /f /im skypehost.exe
4. Then save the files to the desktop and open it to turn off Skype. After that, check whether the “Skype won’t close” issue has gone.
Way 5: Uninstall/Reinstall Skype
If the above methods are not working to fix the “Skype won’t close” issue, you can uninstall Skype directly in case you don’t need it anymore. If you just want to close it temporarily and use it later, you can consider reinstalling Skype.
You need to download the latest version from its official site and install it. After that, check whether the issue is fixed.
How to Stop Skype from Starting Automatically
It is an inconvenience for some users because Skype opens automatically when starting computers and logging in to a user account each time. After solving the “Skype process won’t end” issue, you can stop Skype from starting automatically on your PC.
Way 1: Via MiniTool System Booster
MiniTool System Booster also allows you to disable the app from the startup. Now, let’s see how to stop Skype from starting automatically via this tool.
MiniTool System Booster TrialClick to Download100%Clean & Safe
1. On the main interface, click the drop-down menu to choose Toolbox.
2. Under System Management, choose the Startup Optimizer option to continue.
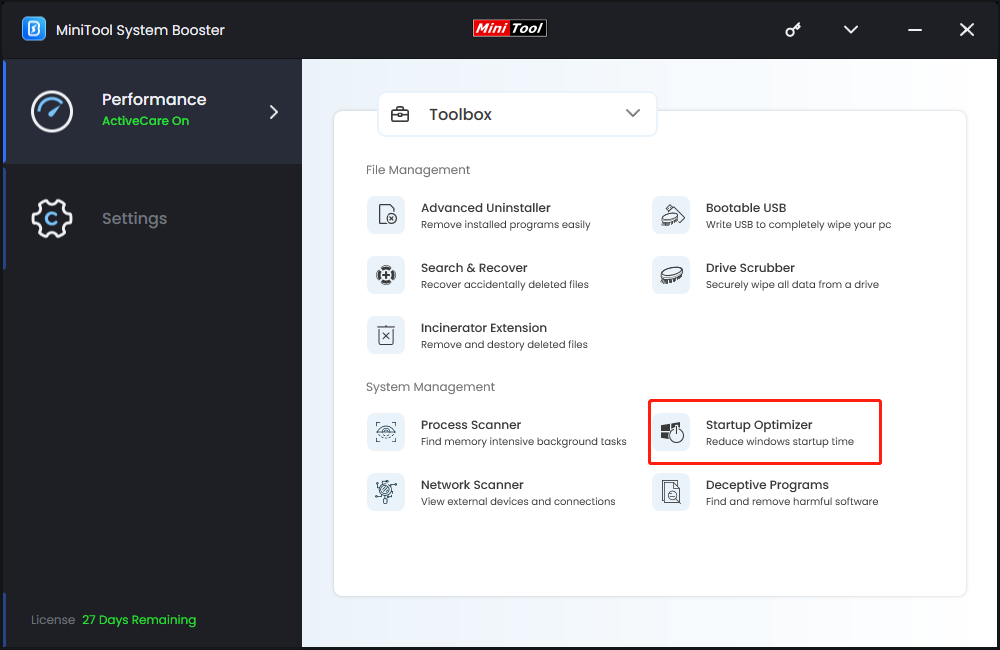
3. Then, you can see the potentially unwanted items and you can click the Expert view (all items) tab to check more startup services. You can disable Skype.
Way 2: Via Task Manager
If you find the Skype app is running on the Startup, you can also try to disable Skype on Startup using Task Manager. Here’s how to do that:
1. Press the Ctrl + Shift + Esc keys together to open Task Manager.
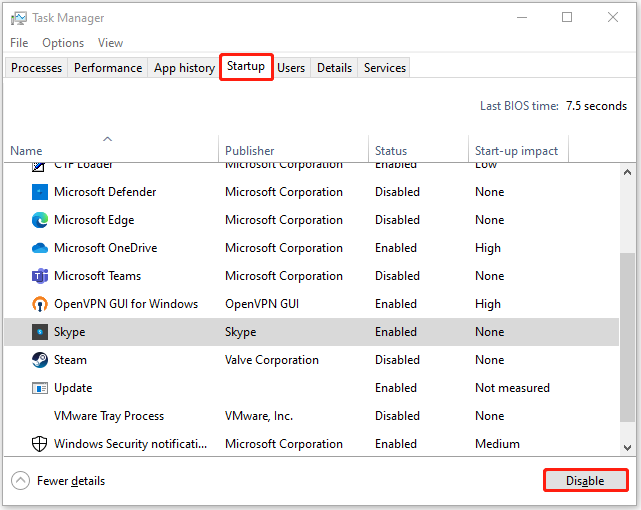
2. Then, switch to the Startup tab. You’ll see a list of all the apps that start up automatically each time Windows loads. By default, the list should be sorted by name, software publisher, startup status, and start-up impact.
3. Find Skype and click the Disable option.
Way 3: Via the Skype App
Some users reported that the full version of the Skype Desktop app also starts automatically with the computer. If you are using this desktop version, follow the steps below to stop Skype from starting Windows 10.
1.Open Skype and click the More icon. Then, click Settings.
2.Go to General and click Settings.
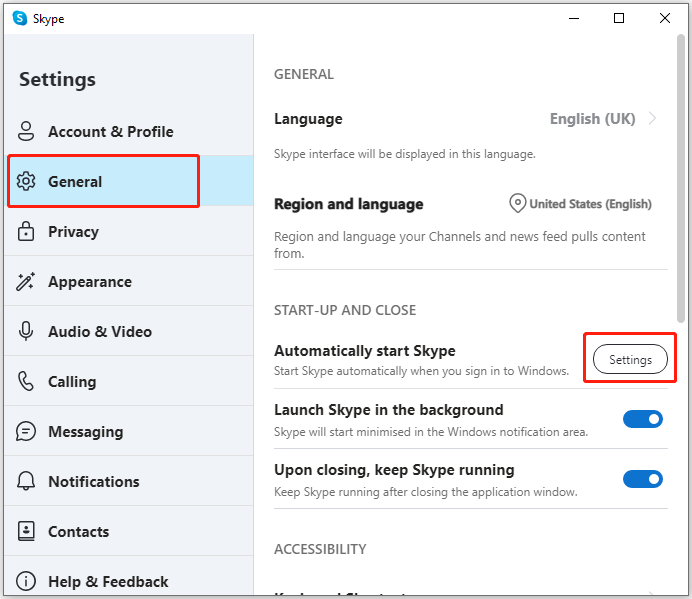
3.Then, it will bring you to the Windows Settings page and you need to turn off the Skype option to prevent it from starting on the startup.
Final Words
To sum up, this post shows ways to fix the issue that Skype won’t close. If you come across the same errors, try these solutions. Besides, you can also know how to stop Skype from starting automatically on Windows 10.